Ubuntu Mate on Raspberry Pi
You might now be an old hand working with Raspbian and want to try something new. Or you might want to get deep into Robotics and work with ROS (which is best installed, at the time of this writing on Ubuntu). Whatever the reason, here is a quick guide to help you with running Ubuntu on your Raspberry Pi.

Installing Ubuntu Mate
We have not yet found a way on how to best install Ubuntu Mate on your Pi headless. So this guide requires you to connect a screen, mouse and keyboard for the first configuration, before using the system remotely. You can of course create your own image and setup from that, but a vanilla install from the official Ubuntu Mate image (at the time of this writing) is not possible headless. As far as we know.
We will list the basic steps below, and recommend to read up on the details on a MagPi article: Install Ubuntu Mate on your Raspberry Pi.
- Download the image: Navigate to the Ubuntu Mate Website downloads section, and select the Raspberry Pi version. Xenial is today the only image available
- Flash the image to your SD card. You can use any tool of choice, we recommend Etcher or Win32DiskImager, described in our Getting Started Guide
- Boot up the SD card on your Pi, with a screen, mouse and keyboard connected
- You will be asked to configure your system, including usernames, keyboard setup and much more
- Done. Enjoy
Tips
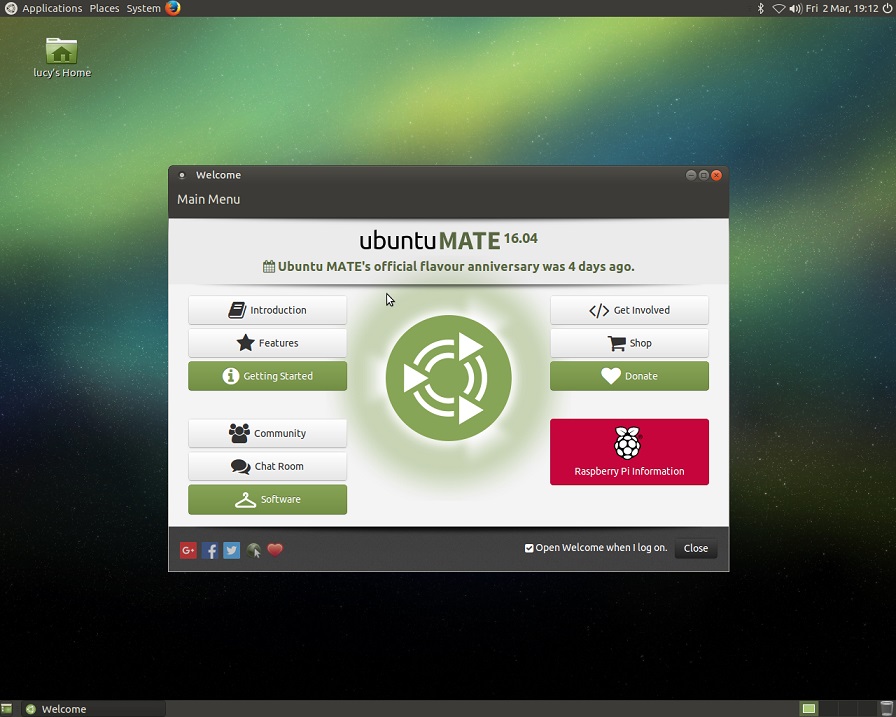
- Once Ubuntu Mate is installed, check the welcome page. You will find out for instance that upgrades are not recommended and will not/might not work. This page contains a lot of things worth knowing
- You can access the terminal in many ways, your keyboard shortcut is however fastest: CTRL-ALT-T gets it fast
Links
- OS for Raspberry Pi - check our overview of other recommended systems for the Pi
- Install Ubuntu Mate on your Raspberry Pi - guide from MagPi