
Mount the PiCamera
This page describes how to mount the PiCamera.
Hardware Setup
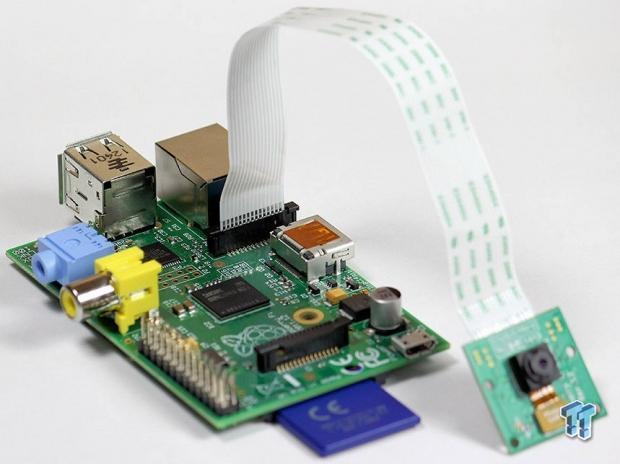
Slide the ribbon cable (aka FFC - flexible, flat cable), that comes with your Pi Camera V2 into the "CAMERA" connector on your Raspberry Pi. To do this, first lift the white collar along the top edge of the connector. You'll hear a little click as it comes free.
The exposed side of the connector (the bit with the silver lines on it, as opposed to the blue stripe) should be facing the HDMI connector as you insert it into the "CAMERA" connector. Push the white collar back down into place, securing the ribbon cable in place.
Start up your Raspberry Pi, with the monitor (or TV), keyboard and mouse connected. Open a Terminal window, and type:
sudo raspi-config
Hi enter, and this brings up the Pi's configuration options. We're assuming, at this point, that you've already got Raspbian installed on the card and set the Pi up, by the way.
Select "Enable Camera", followed by "Enable", and then "Finish". When it asked you to reboot, say yes.
And that's the camera set up as far as the Raspberry Pi 3 is concerned. However, for the sake of testing the next part, also connect your RPi3 to your wi-fi network.