
Getting Started
First steps in prototyping with the Pi are very difficult. The content here, as well as content online, can be very confusing to anybody starting and trying to overcome the initial learning curve. This page has the ambition to get you started with as little pain as possible.
Tools
First things first. Once you start working in heterogeneous environments, you might want to setup your tooling to be as effective as possible. Here are a few recommendations.
Text Editor
Find a good text / code editor. While certainly notepad can be OK and is a starting point, we would recommend something more robust to use: enter Visual Studio Code. This is an extremely versatile and yet light-weight editor which can be enhanced with many plugins. There are good alternatives of course, ask us for advice if needed.

Please find some Visual Studio Code links below:
- Homepage
- Visual Studio Code Marketplace
- Visual Studio Code Portable
- Markdown and Visual Studio Code
- Visual Studio Code comes pre-set with Github Flavored Markdown. Here is the syntax
- Introduction and Keyboard Shortcuts
- CodeProject Introduction
Visual Studio Code is originally based on the amazing Atom Text Editor
GIT
As we have the ambition to use version control and communicate across teams, it is a good idea to setup GIT as a version control system and learn the basics.
For Linux base systems (such as Raspberry Pi), git setup is extremely simple. By invoking the commands below, you get up and running with a full GIT experience:
sudo apt update
sudo apt install git git-gui gitk
For Windows systems, it is as easy. You just need to choose the direction you want to work in. If you are getting started, probably the easiest approach is to install a system called TortoiseGIT. Works great from your Windows, with little or no hassle at setup. And while you're at it - purists say nothing beats the command-line, but truly it does not really matter: you want to get started up the fastest way possible, right?
Browser
A non-mandatory section, but helpful anyway. It is a good idea to get yourself a second browser, which is tuned to your account. The idea is you setup your links, shortcuts etc. in separate sessions not only to keep things tidy, but also to separate the work on Pi in a different program.
A good idea is to get a portable version of a browser of your liking. On Portable Apps - Under the Apps menu, browse to Browsers and choose the one you prefer. This browser can be carried with you on a USB stick etc. to be used anywhere. Note that Firefox is one step ahead in a portable version: you can upgrade the portable version and do not have to re-install once in a while. There is a setting which allows you to run several independant instances in parallel. Very handy.
SSH Client
We have covered this in several sections. To get started, you need a good SSH client. An amazing, tabbed client, not only for SSH is bundled in MobaXTerm. When downloading, you can get a portable version as well, which can go side-by-side with your browser. It's hard to list all the great features, go to their site and check it out.
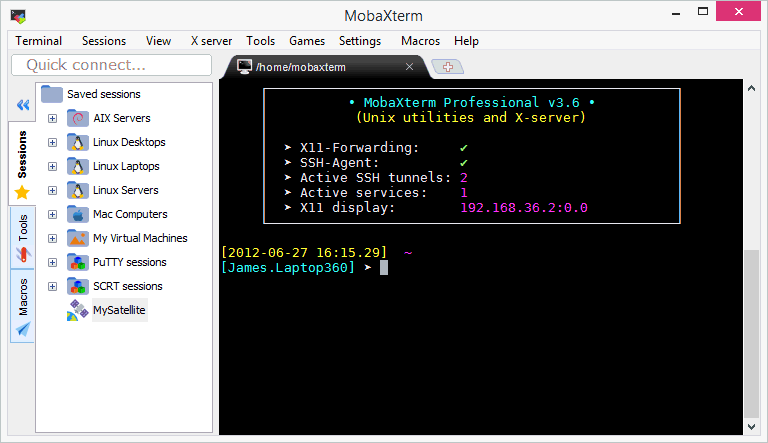
You can read more about remote access to the Pi here: Remote Access to Raspberry Pi.
MKDocs
This is an optional step. If you want documentation written in MarkDown to be served on basically any server, and want to contribute to these pages, you will need a website generator.
The generator of our choice is MKDocs. The front page describes both the installation (it is a Python based program) and general usage.
Burning Images
For 'burning' system images to various SD cards, you will require a good tool. There's many available, the suggestions below are a selection, focusing also on portability.
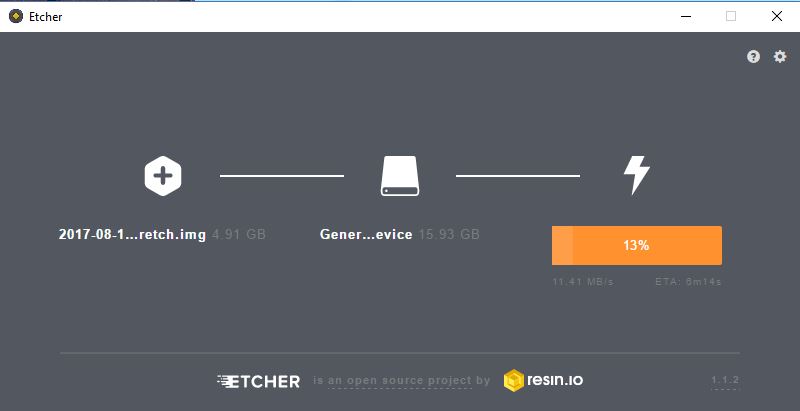
Etcher - if you want to write images only, this is a very nice tool with validation features and more. You can find it here
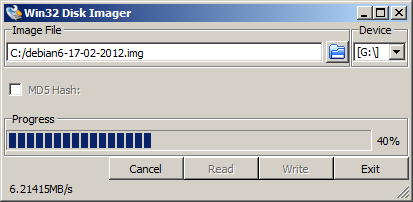
Win32DiskImager - a robust, thoroughly tested tool which survived ages. If you wish to both read and write images, this is probably the best choice for you. You can find it here
Learning
Markdown
Markdown is becoming a de-facto standard in writing text. You basically write a simple text document with a few, easy to remember 'tags' and voila: you can convert this to a web page, a PDF file, an epub or anything else. As we will be writing a lot, it is a good idea to learn how to. There is a great and short Tutorial for Markdown available. Become the expert in 10 minutes.
Raspberry Pi Setup
Setting up the Raspberry Pi of course depends on what you want to do. Here are some guides.
Basic Headless
This is a foundation for a Pi setup, which serves as a headless server (i.e. no monitor, keyboard and mouse needed). Basically a must for most of the solutions. Please find a detailed installation guide here: Setup Headless Raspberry Pi. This guide sets up a server without a GUI as well. A similar approach can be used to setup a headless Pi with a GUI, for remote desktop I suggest to add the software XRDP.
IoT Raspberry Pi Device
To take things further and work with IoT and our recommended IoT approach, you need to take the Basic Headless Setup described above, and add a few steps to install the IoT pre-requisites. We have several pages available to do so, you can get started at the landing page: IoT Raspberry Pi Device.