
Summary
For multiple projects, we wish to setup an IoT Raspberry Pi Device - basically a Raspberry Pi Image, which is prepared to handle IoT messages, sensor readings, events and other goodies, Out-of-the-box.
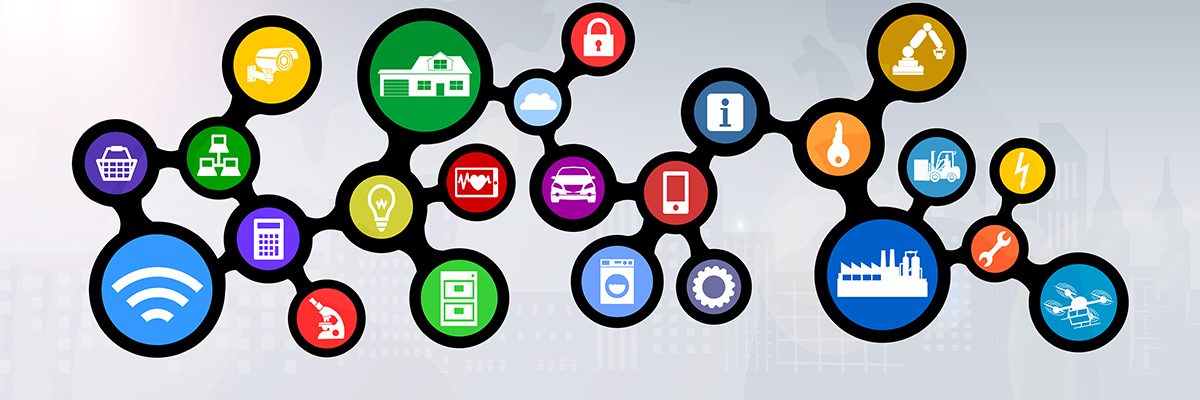
This is a home page of steps to take to build your IoT Raspberry Pi Device. At the end, you will have an image of a versatile tool to handle your IoT requirements with ease.
You can see a practical use of a temperature sensor using this setup here: TempSensor IoT
The below guide is still a valid solution for a traditional setup of your Pi. You can however follow an alternative road by using Docker. Here are some links to get you started running your IoT Raspberry Pi Device in no time (if you are happy with Docker of course)
- IoT Raspberry Pi Device on Docker - main article
- Docker on Raspberry Pi - our guide to setup Docker
- rpi-mosquitto - our Docker image for pulling a Mosquitto broker to your Pi
- nodered - our Node-RED Docker image for Raspberry Pi (includes our extra nodes, together with Node-RED dashboard)
You may want to consider a third alternative: Using Aedes on Node-RED, and completely skip Mosquitto installations. See our Node-RED on Docker article; you can use our guide under Option 3.
Installation
- Setup a Headless Raspberry Pi Image - We wish to have a simple headless server which focuses all it's power on serving features and listening to events
- [optional] Setup WIFI. Learn more in the section Setting Up WIFI
- Setup MQTT via Mosquitto - Mosquitto will provide the pub-sub framework to make everything tick. While setup is trivial, the usage will follow our generic guideline described here: MQTT Topic Trees
- Setup Node.js - Node is the Javascript framework behind the integration part
- Setup Node-RED - Node-RED will allow you to wire-up things together with little coding
- Setup Node-RED Dashboard - This is an addon to Node-RED which helps you visualize the results of your efforts. Note that strictly speaking you do not need Node-RED Dashboard on every Pi, but it helps especially when monitoring a specific device. For distributed projects, you will probably wire-up events to only one Pi in the network and visualize all events in one Dashboard only
- Cleanup your installation - In this step you basically need to update everything and make an image of a root system after all the work. Next time you setup an IoT Raspberry Pi Device, you don't have to start from scratch
Upgrading
The steps in the 'Installation' section above will give you a reasonable version of Node-Red and Node.js. However as development goes really fast on our platform, it is a good idea to upgrade often.
After Installation
What to do after installation? if you followed the whole guide, you have an IoT Raspberry Pi Device image on your drive. So next time, instead of following all the steps, simply follow the alternate steps below:
- Flash the IoT Raspberry Pi Device to a new SD card
- Change the hostname
- [optional] Rename the SD card
- Update settings in smb.config to reflect the new name in the share
- Done. A new device is ready to obey all your commands :)
Tips
This section contains Tips extending the installation steps above.
Setup a Headless Raspberry Pi Image
The document Setup a Headless Raspberry Pi Image goes to detail on what to do to have a Raspberry Pi server running, with no keyboard, screen, mouse etc. Also the graphical part of the system is eliminated. 'Look ma - no hands' :) Here are a few comments on enhancing the image you have obtained up to now:
- Set the Pi password in the configuration utility - raspi-config
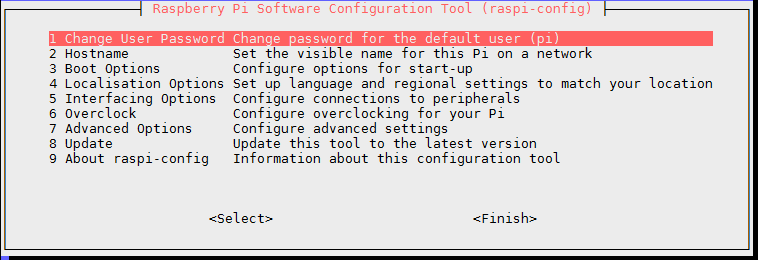
- Set the hostname in the configuration utility - raspi-config

and
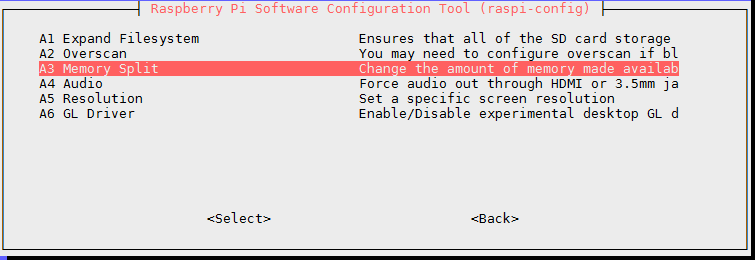
- Expand the file-system to maximum in the configuration utility - raspi-config (in Advanced Options)
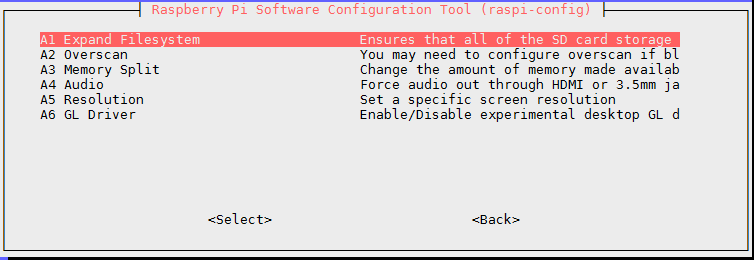
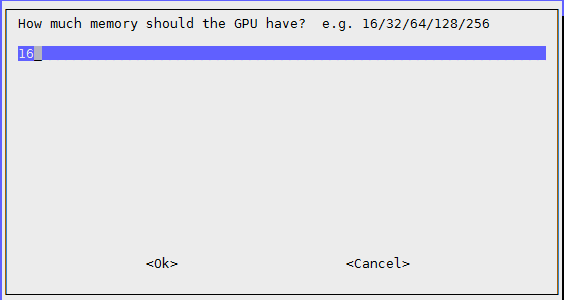
- Set the graphics memory to minimal (16 MB for GPU) in the configuration utility - raspi-config (in Advanced Options)
and
- Install Samba and related software. You can find our full guide here, the below Samba configuration is an extract from the full material.
sudo apt install samba samba-common-bin
- Configure a share of your home directory, which is available anywhere from the network, from any device (Windows, Linux, Mac). Here's a typical smb.conf shared section
[pihome]
   comment= Pi Home
   path=/home/pi
   browseable=Yes
   writeable=Yes
   only guest=no
   create mask=0777
   directory mask=0777
   public=no
Cleanup your installation
There's little to do in this step.
- First, update everything and purge unnecessary stuff
sudo apt update && sudo apt full-upgrade
- Reboot
sudo reboot
- Create an image of your configuration. For this, use the same tool as described in Setup a Headless Raspberry Pi Image - Win32DiskImager ('Etcher' won't work - it only writes images), and store the created image in a safe place.