
Summary
We were eager to test and use Docker in our Raspberry Valley makerspace. This document describes how to setup a base image for your Docker experiments.
While working with Docker images and containers on an ARM device still has some issues to handle as opposed to mainstream hardware, the installation of a bare-bones machine with Docker on top is quite straightforward.
Here is how.
Installing Docker on Raspberry Pi
- First, setup a standard Raspbian (Lite) on your SD card. We have a dedicated article found here: Setup SD Card. Basically, please setup a Raspberry Pi Headless Device, up to the point of Flashing Raspbian Lite from here, flashing it to your device, enabling SSH, configuring via Raspi-Config and connecting headless. Ignore the remaining steps in our tutorial, we will handle the differences here
- Update all (see our recipe Updating Raspberry Pi)
- [optional] Install Samba: you want to do this if you want to connect to your Pi from a Windows notebook to eliminate all the hassle of setting up sharing, making hostnames visible etc.
- install Git: We have a GIT recipe available if you want to know the details, it basically boils down to the command below. There is a good reason for having GIT sitting on your device: you will be downloading Docker software and other code often. Git is typically installed on basic distros of Raspbian, however the below won't hurt:
sudo -E apt install -qy git
- Finally, install and configure Docker
curl -sSL https://get.docker.com | sudo -E sh
You'll end up with a summary of Docker version info after installation, as seen below:
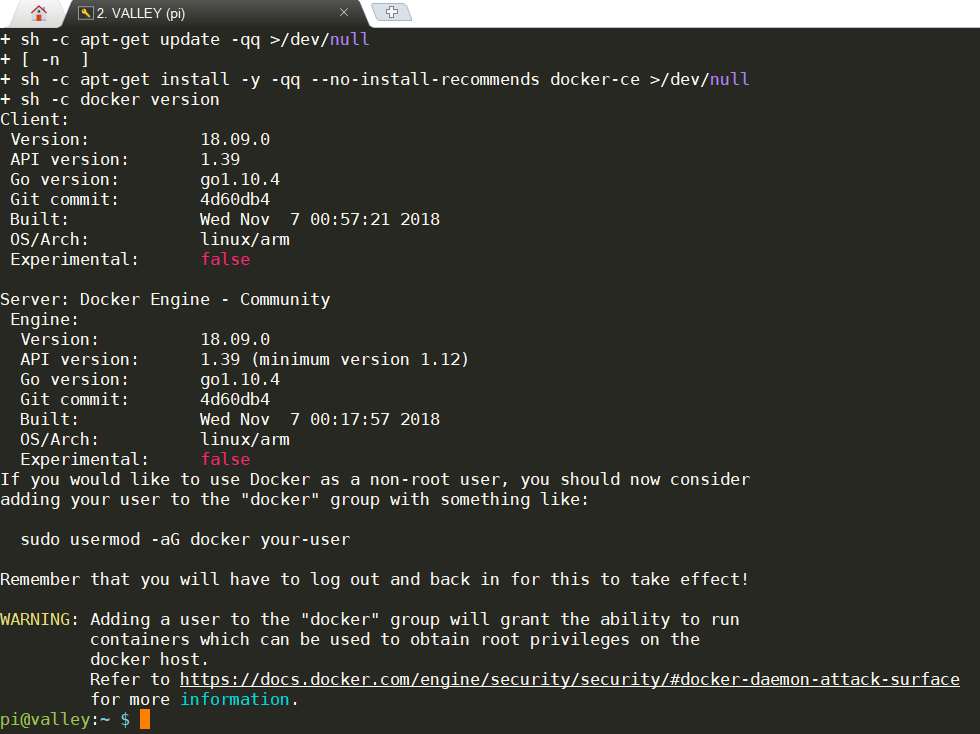
and setup your Pi to have access to the Docker daemon
sudo usermod -aG docker pi
- Reboot
sudo reboot
Docker-Compose on Raspberry Pi
Docker-Compose comes automatically with Docker on Windows, Linux etc. Not on Raspberry Pi. You can however install it anyway. This guide is based on a blog post by Alessandro Segala - Yes, you can run Docker on Raspbian.
To install Docker Compose, you have several options. For the makers here at Raspberry Valley, we chose the easiest approach: Install via pip. Simply run the following:
# Install pip if not available
sudo apt update
sudo apt install -y python python-pip

# Install Docker Compose from pip
sudo pip install docker-compose

# on some Raspbian flavors, the 'pip install' fails. Fix it by installing extras shown below. Rerun the installation after
# sudo apt install gcc libffi-dev libssl-dev python-dev
Points of Interest
This section list things we had to solve during our experiments, and which might speed up your own development.
Docker on Jetson Nano
If you have purchased the jetson Nano, it might come in handy to know that Docker is already installed on the Ubuntu base image. Here are a few observations for using this release.
- First, setup Docker to run without sudo: the Jetson requires to run Docker with priviliged access, which is sort of annoying. Just type the following to use Docker as you use it on your Pi (remeber to substitute your_username with the correct value)
sudo usermod -aG docker your_username
Once done, logout and login again to your terminal session.
- Update Docker: you might want to also update your Jetson Nano Docker to the latest version
sudo apt-get --only-upgrade install docker.io
GPIO vs. Docker Containers
You might find out that, if you launch a container which wants to interact with GPIO, you will get a bunch of error messages. Due to the concept of isolation of containers, this makes sense. Please read up a bit more on the subject (and how to circumvent the issue) here: Controlling GPIO with Docker Swarm.
If you wish to interact with your GPIO, you basically need to lauch your container in privileged mode. For example:
docker run --privileged -d mygreatimage
Links
See what you can do with Docker on a practical recipe on our site: IoT Raspberry Pi Device on Docker. Check the links below for other inspiration - there's plenty of great material available.
- Docker
- Raspbian Downloads
- Alex Ellis' Blog
- Controlling GPIO with Docker Swarm
- A quick introduction to Docker(Andrew Odewahn)
- Docker Blinkt Workshop (Alex Ellis) - a great tutorial if you want to get started with Docker on the Pi, using Blinkt. We tried it. Works great