
Raspberry Pi as a Wifi Hotspot
Typically, you want to setup Wifi connectivity to your network by connecting to the existing infrastructure. We have you covered - in this case you want to read our article on Setting Up WIFI.
There are use-cases where this is not the best idea. You might share connectivity with your devices when travelling via a Pi hotspot (the Pi gets connectivity via LAN while your devices always connect to the same SSID). You might want to have a car, drone, or other gizmo, which you connect to in the field, where no infrastructure is present. You maybe have a business where you want to setup separate access...
In such a case, you might need to setup your Pi as a Wifi hotspot. Read on further to learn how.
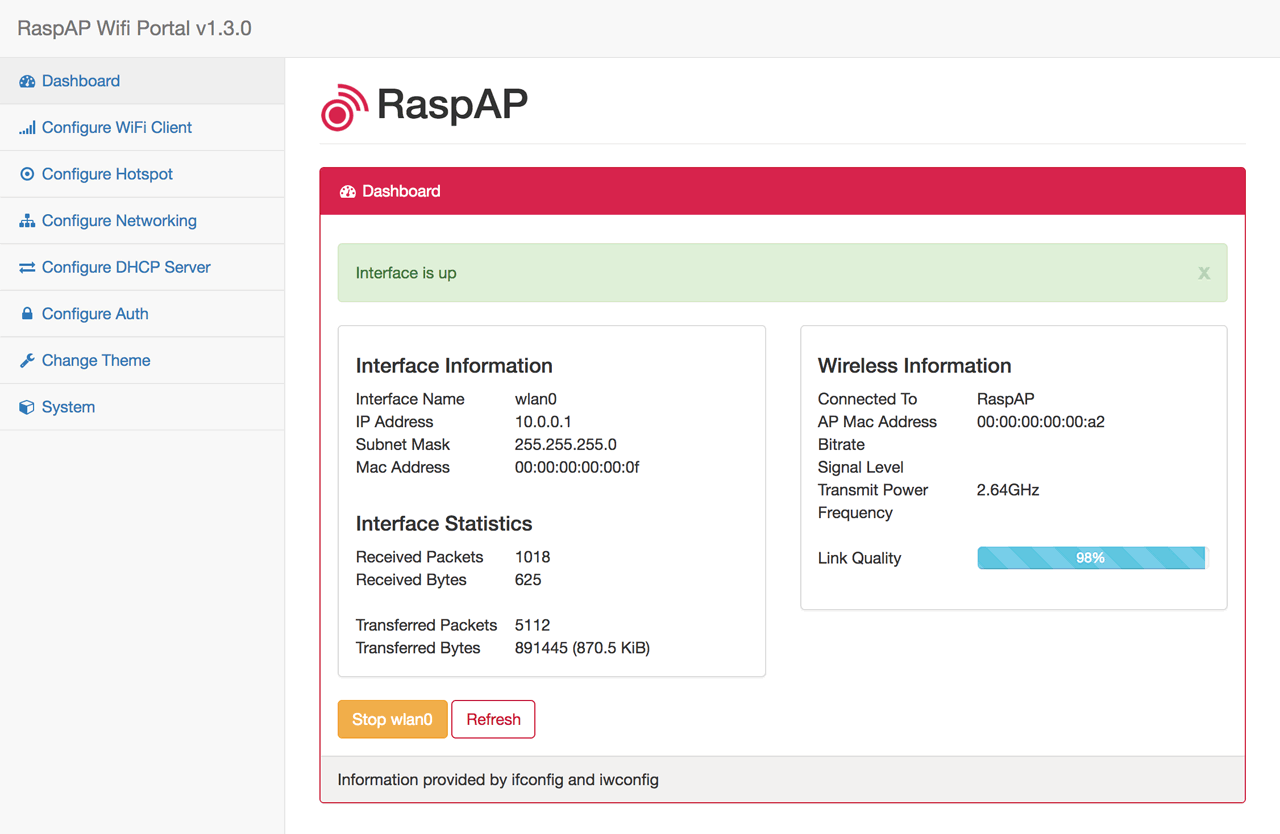
RaspAP
There are many ways of achieving this goal. We will start with the easiest and most simple: by installing a software which does it for you: RaspAP. Out of the box you will get a tool which allows you to configure hotspots (and more) on your Pi.
If you want to get your hands dirty and install from scratch, you might want to check our guide Raspberry Pi Tor Access Point. Follow the directions up to setting up Tor and you have achieved a similar setup (but you won't have the management interface available). Your choice.
Installing RaspAP
We will assume you are using Raspberry Pi 3, which has Wifi (and Bluetooth) onboard. We will also assume you want to run the device headless and manage it via Wifi. Here's how to get going:
- Setup your headless device: try one of our tutorials: Raspberry Pi Headless Setup or maybe DietPi. There are many options
- SSH into your device, over the LAN. The software is not configured or downloaded yet
- The only thing you need to do to get up and running is to is to download the solution (the 'wget' part below) and run the installer (we bundled both commands into one)
wget -q https://git.io/voEUQ -O /tmp/raspap && bash /tmp/raspap
- restart the Pi (and unplug the LAN cable)
Connecting to RaspAP, first time
Now it's time to configure our hotspot
- Connect using your browser to the new AP you have just created. You should see a raspi-webgui network in the list of accessible networks
Here are the Wifi connection settings:
SSID: raspi-webgui
Secret: ChangeMe
- Login to the application: Enter the URL below into your browser and login (credentials below as well)
IP address: 10.3.141.1
Username: admin
Password: secret
- Configure the hotspot to your liking
- Note your connection settings
Connecting to RaspAP
Once you have connected to the device with the RaspAP default settings, you have changed (and noted down) the configuration. The next connections will be in your hands: your IP range, your SSID, your admin access etc.
Enjoy
Links
- Setting Up WIFI - our article on setting up traditional Wifi connections
- RaspAP
- Raspberry Pi Tor Access Point
- PiFi - Raspberry Pi Wifi - another interesting alternative