
Node-RED on Docker
We already played with Node-RED and Node-RED Dashboard earlier. Those recipes, which allow you to install those essential components on your Raspberry Pi work fine, yet we see more and more installation questions coming. Time to upgrade!
This is a very easy recipe to install Node-RED and Node-RED Dashboard the easy way, using Docker. Inspiration comes from the official home site, but we have a few extras (and our own Node-RED version) in store. Read on to learn more.
We present 2 options.
Option1 - Simple Node-RED Setup
This option is based on this article: Running Node-RED Under Docker (official guide). We just added a few extras for Raspberry Valley use. It is highly recommended to check out this original.
Within a few minutes, you'll get a fully operational Node-RED server running on your Pi!
- Setup a base Raspberry Pi OS: You can easily get started on any recent image of Raspbian (or other Raspberry Pi system, such as Ubuntu Mate), or use any of our previous recipes: for example Raspberry Pi Headless Setup
- Setup Docker: Follow our simple tutorial here: Docker on Raspberry Pi
- Open up the Terminal. We'll do all the work from there
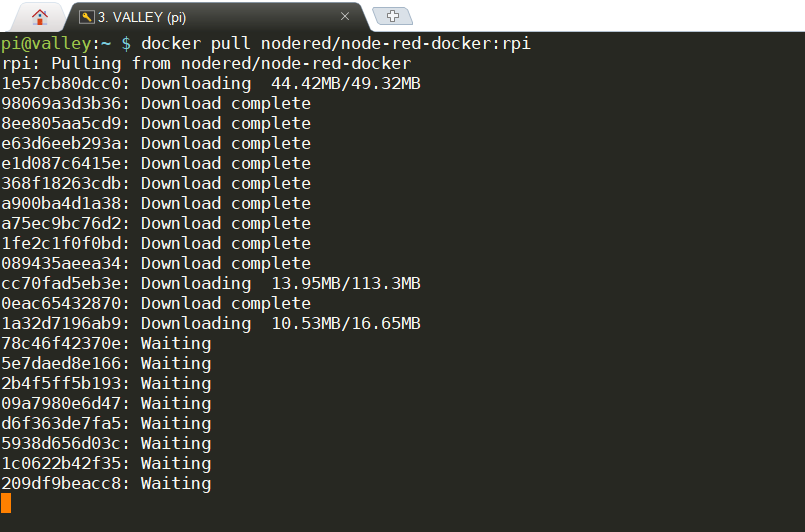
- Pull the Node-RED official image: please note we use the ARM version, in our case tagged with rpi
docker pull nodered/node-red-docker:rpi
Wait a bit. You'll see something similar to this:
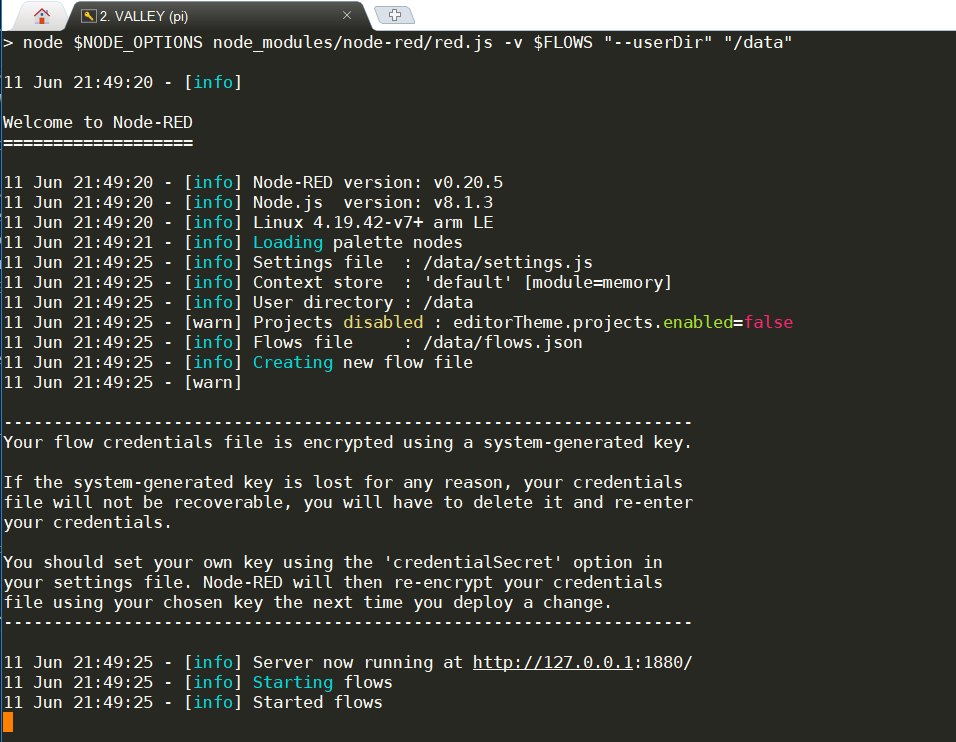
- Test the image. The below test will allow you to start a Docker container with Node-RED, test the server and see any possible error messages in the console. Notice that the container is destroyed again after use.
docker run -it --rm -p 1880:1880 nodered/node-red-docker:rpi
Your server is functional and is accessible via the browser at
http://your-pi-ip-or-hostname:1880
and looks similar to this on server (Raspberry Pi):
and in Browser:

To exit, press ctrl-c on your Pi. The test container will be removed and your changes on test will be lost.
- Time to setup your container for good. There are several options here; you can run in container only, map a directory to your flows to persist them during update, running on different ports etc. Please investigate the documentation a bit. For Raspberry Valley users, we assume the most simple possible approach. You might need a bit more ...
This command creates a container noderedrv on your Pi:
docker run -d -p 1880:1880 --name noderedrv nodered/node-red-docker:rpi
Note, that you need to re-start the container after reboot (or change options), that you need to make sure you properly backup your Nodes etc.
Below are a few useful Docker commands to work with this container:
# To stop the container
docker stop noderedrv

# To start the container
docker start noderedrv
- Time to setup Node-RED Dashboard: Open up your browser and navigate to
http://your-pi-ip-or-hostname:1880
Locate the menu button (right top) -> Select 'Manage Palette' -> Select the 'Install' tab -> search for 'node-red-dashboard' -> Click Install
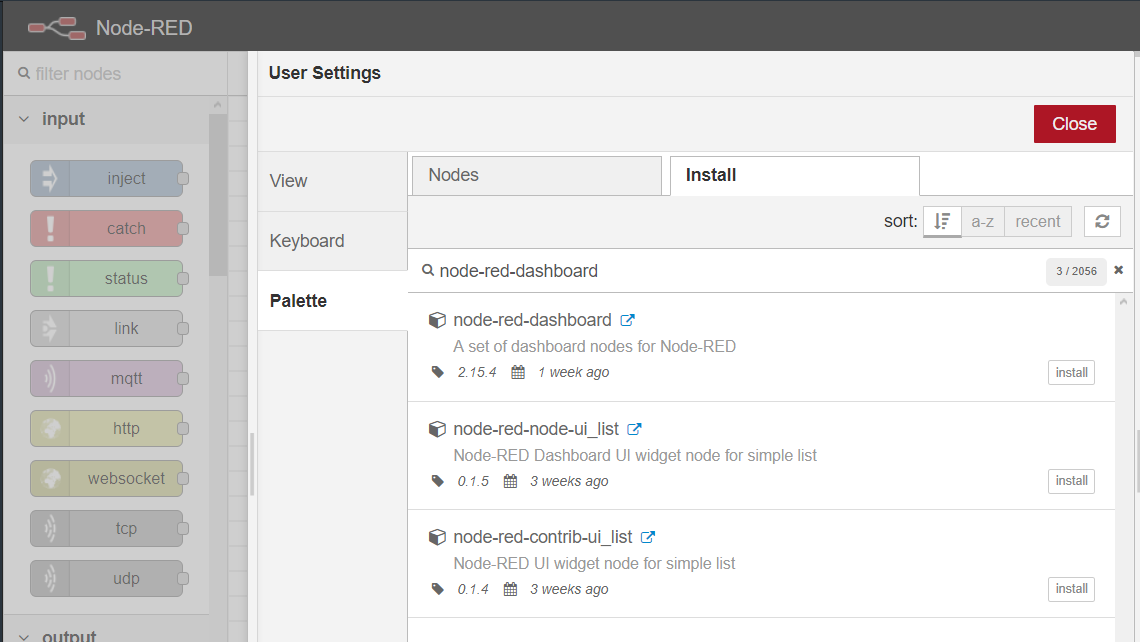
Note: You can install other nodes in a similar way
- Done. Your system is available and ready to use
Option 2 - Our own Node-RED Docker Image
We have created our own Node-RED image, based on the official image. The difference is, that our favourite nodes are added. Please find the Docker image to use here on Docker Hub, The source code on Github and the changelog on the Github repository in README-RaspberryValley.md
- Simply pull our image
docker pull raspberryvalley/nodered:rpi
- Create the container
docker run -d -p 1880:1880 --name noderedrv raspberryvalley/nodered:rpi
- and - DONE!
Option 3 - New Node-RED Docker Image
Since we have written our approach, in option 1 and 2, and since we have been using Docker on Raspberry-Pi basically everywhere, a lot has changed.
This options takes the official Node-RED image (see the guide here) and installs the aedes node. This is pretty neat: after running this one image, you can use MQTT basically out of the box! No more Mosquitto needed!
While we are not sure we want to use this approach for 'production', it's a great alternative for any prototyping, on any platform; not only Raspberry Pi, but also Windows and others run from the same image (sort of, using the same command to be precise).
We can launch a prototyping platform in minutes, basically substituting steps we took in our IOT Device setups - see IoT Raspberry Pi Device and IoT Raspberry Pi Device on Docker for more details.
Follow the easy steps below to get started:
- Download and launch a Docker container using the official image. Notice, that we expose an extra port 1883 - which is the MQTT port. More on that later (the Node-RED installation doesn't actually need it).
On Raspberry Pi, you could run the following:
docker run -it -p 80:1880 -p 1883:1883 --name iotdevice2 nodered/node-red
On Windows, we assume your port 80 is taken, so something similar to this:
docker run -it -p 1880:1880 -p 1883:1883 --name iotdevice2 nodered/node-red
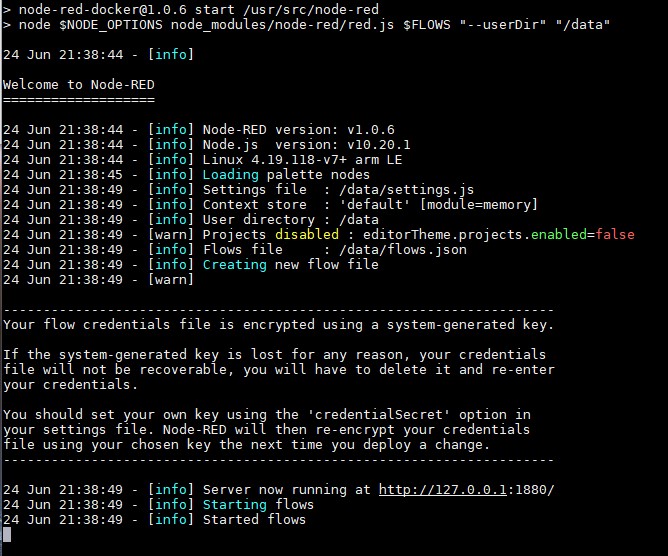
- Wait for the container to start up (see image below)
- Navigate to your new Node-RED site. For the Raspberry installation, you don't even have to specify the port (on Windows, use localhost and port)
http://yourpihostname/
-
Install Aedes through the Node-RED palette
-
Once done, enable MQTT by simply dragging the Aedes node into the workplace. This is where the open port of your container comes in - Aedes runs an MQTT server on that specific (default) port.
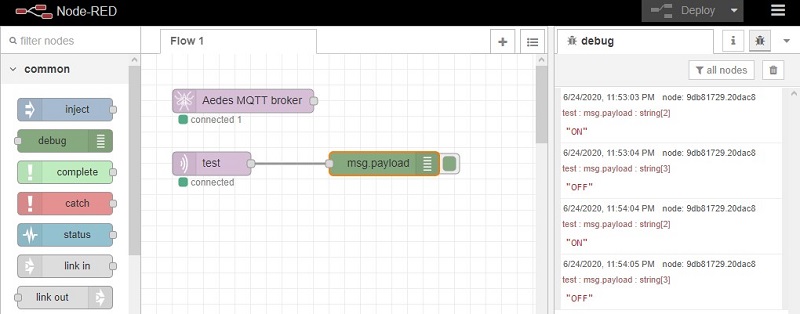
In this image, you can see Aedes running the MQTT server, and the MQTT node listening to messages on topic 'test'
- Done: IoT device in 5 minutes or less :)
Note: Aedes comes in with a nice feature of a built-in port for enabling sockets. You'll need to fill in a sockets port and all is ready.
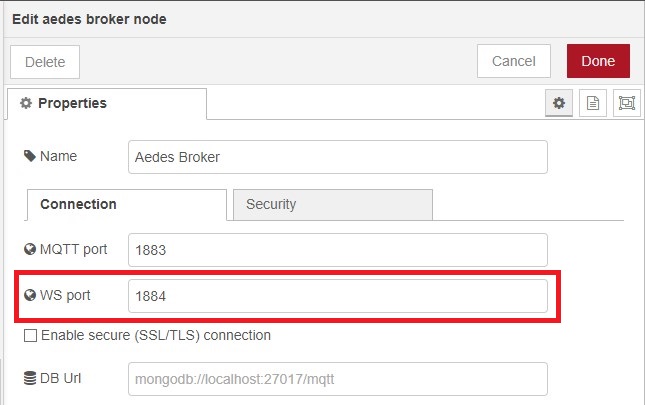
However, please remember, that you need to update the container. So for example for Raspberry Pi, open the sockets port as well, as shown below (we're using the example port 1884).
docker run -it -p 80:1880 -p 1883:1883 -p 1884:1884 --name iotdevice2 nodered/node-red
Tips
Here is a bunch of tips to take you from our base configuration further.
Autostart the Node-RED Container
You can modify the container behavior by using the update command. This applies to any Docker container. However after finishing the steps above, you need to manually start the container. So let's automate this.
To set autostart properties, use this command:
docker update --restart {no,on-failure,unless-stopped,always} container_name
In our case, this boils down to:
docker update --restart always noderedrv