Summary
This is a very short introduction to setting up Node-RED on a Raspberry Pi. The ambition of this document is to simplify the setup with ready made components and quickly build up an IoT Raspberry Pi Device (this guide however works stand-alone as well).

Luckily the installation is extremely easy. Here's how.
Since the writing of this document, the Docker images have matured and become more mainstream. Why not try to use Docker instead of a system installed version? You can - here is our guide: Node-RED on Docker. It covers the installation of both Node-RED and Node-RED dashboard, using the power of Docker. Check it out.
About
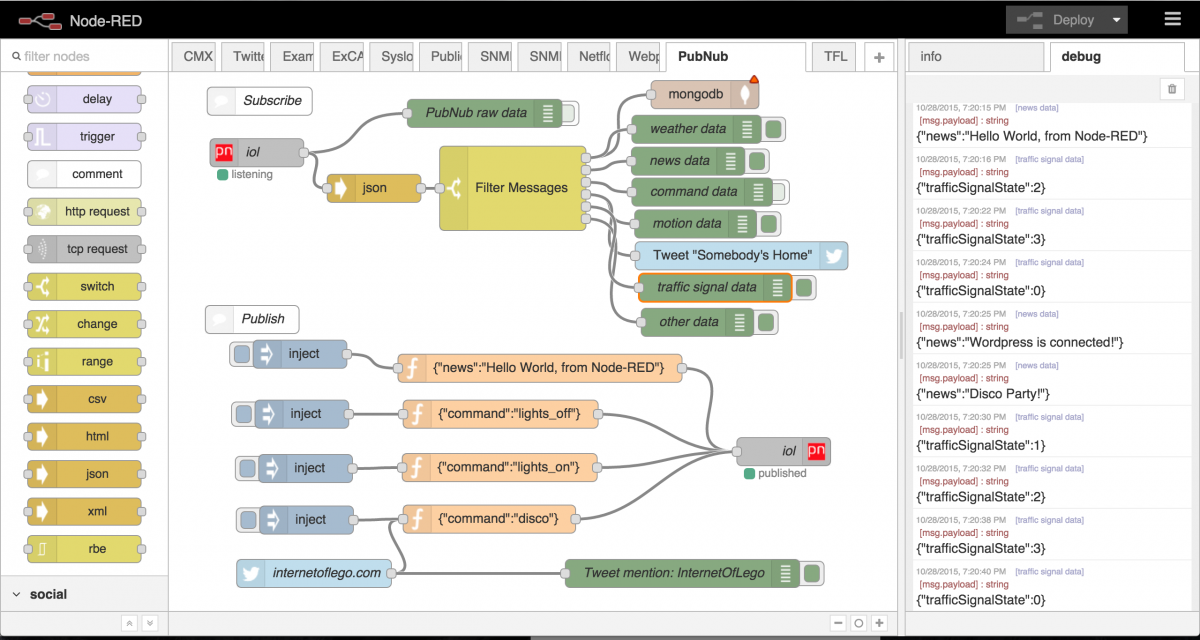
Node-RED is a programming tool for wiring together hardware devices, APIs and online services in new and interesting ways.
Node-Red in its simplest form is an open source visual editor for wiring the internet of things produced by IBM. What does this mean? Well - it means we can spend more time making stuff "talk" to each other than worrying about all of the interfacing code we will need to write.
The system contains "Nodes" which look simply to be icons that you drag and drop on to the canvas and wire together. Each Node offers different functionality which can range from a simple debug node to be able to see what's going on in your flow, through to a Raspberry Pi node which allows you to read and write to the GPIO pins of your Pi.

Installation
The Node-RED component is used for easy wiring up of events, adding logic and providing data to the dashboard (described later in this documentation)
Installation of the core package is plain easy.
- Install node-red
sudo apt install nodered
- Autostart the node-red when rebooting the box
sudo systemctl enable nodered.service
- Reboot for changes to take effect
sudo reboot
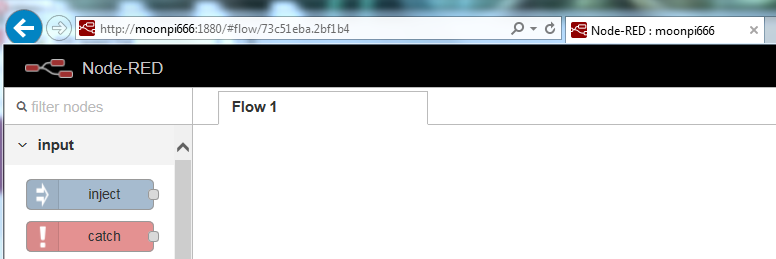
- Test the tool is running. Node-red will be available on port 1880, so from your PC, open the browser with something similar to
http://YOUR_RPi_IP_ADDRESS:1880
You should see an empty workspace, similar to this

- Done.
Additional Nodes
There are built-in nodes, and there are tons of nodes online you can embed into your flows. If you are not clear how to install additional packages, try Adding Nodes from the official documentation. You can start looking for extra nodes in the official Node-RED Library.
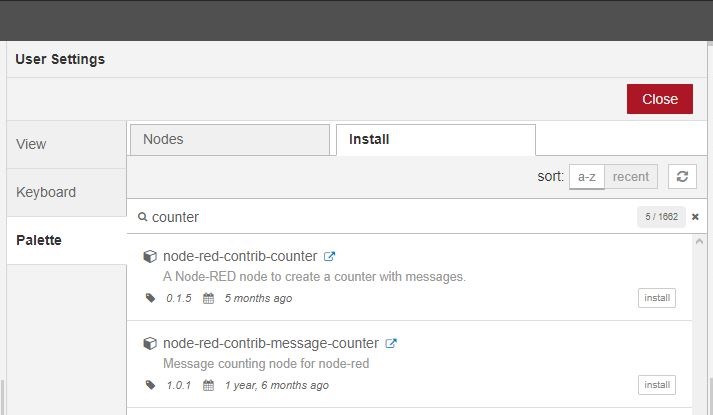
Installing nodes is extremely easy. Either you run an npm command typically shown on the homepage of any node to install from command-line, or simply run the Node-RED feature Manage Palette (top right corner of the environment). Below is an example of searching for (and installing) a counter node.

Nodes used by Raspberry Valley
This section contains a list of nodes we found useful for our development.
- node-red-contrib-counter - A Node-RED node to create a counter with messages
- node-red-contrib-web-worldmap - A Node-RED node to provide a web page of a world map for plotting things on
- node-red-contrib-statistics - Performs statistical operations on a flow
- node-red-contrib-azureiothubnode - Sends messages to Azure Iot Hub. Must have for some of our developments
Links
- Node-RED
- Node RED Programming Guide – This is a great and in-depth tutorial if you wish to learn more about Node-RED
- Node-RED Library
- Adding Nodes